Product Descriptions
Specifications
Reviews
Product Descriptions
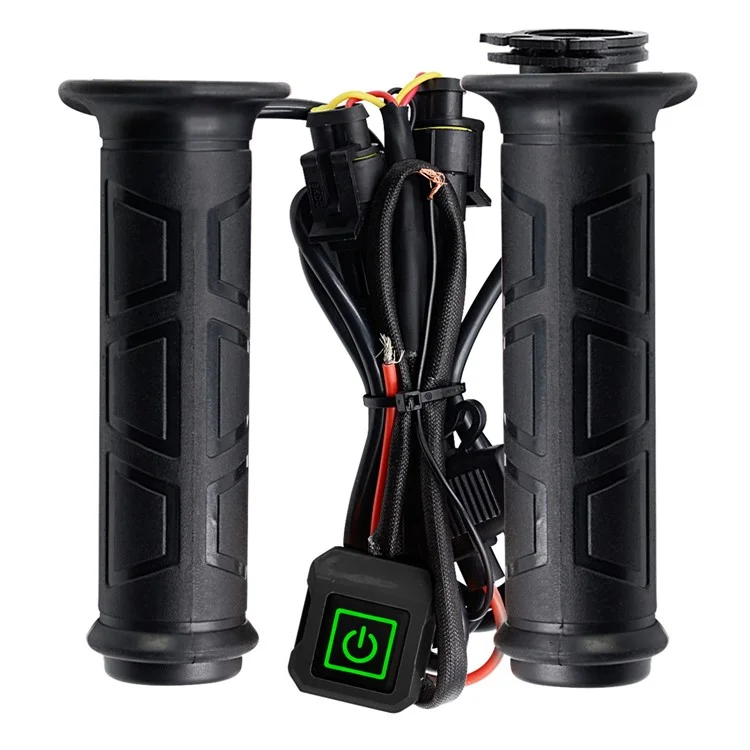
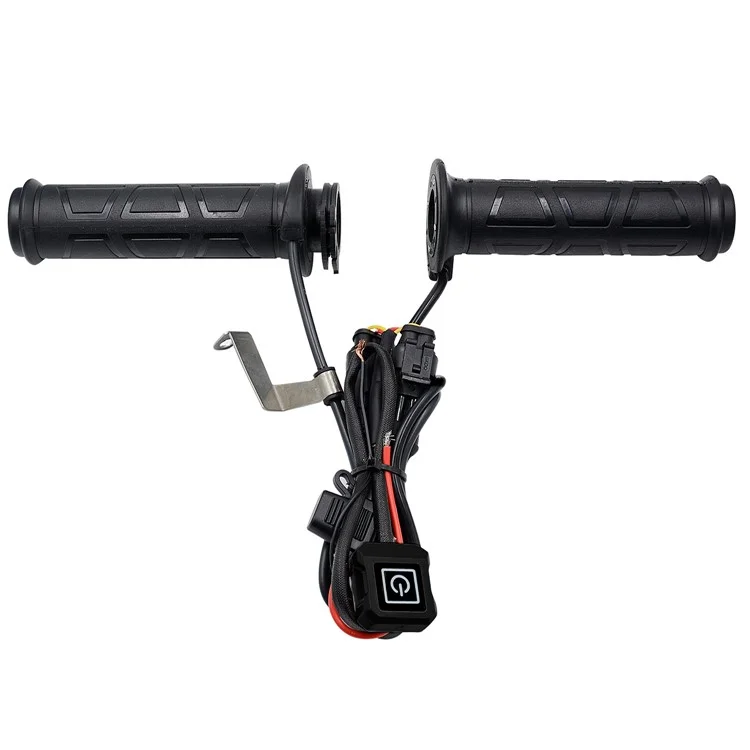
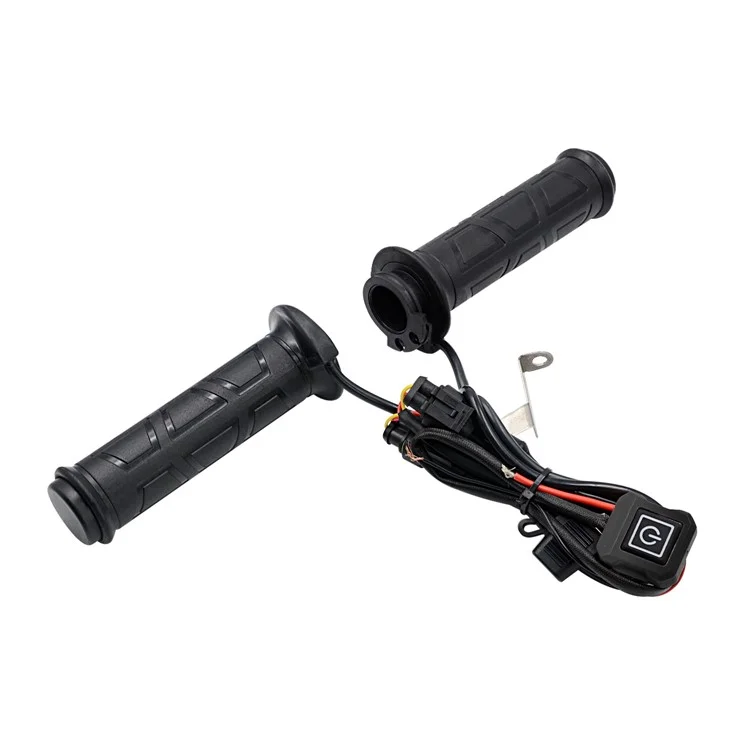
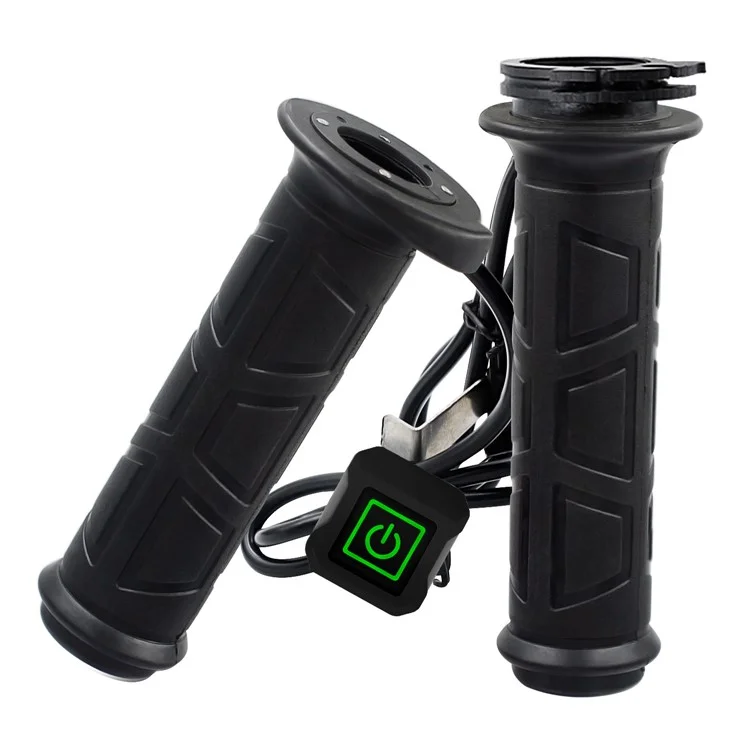
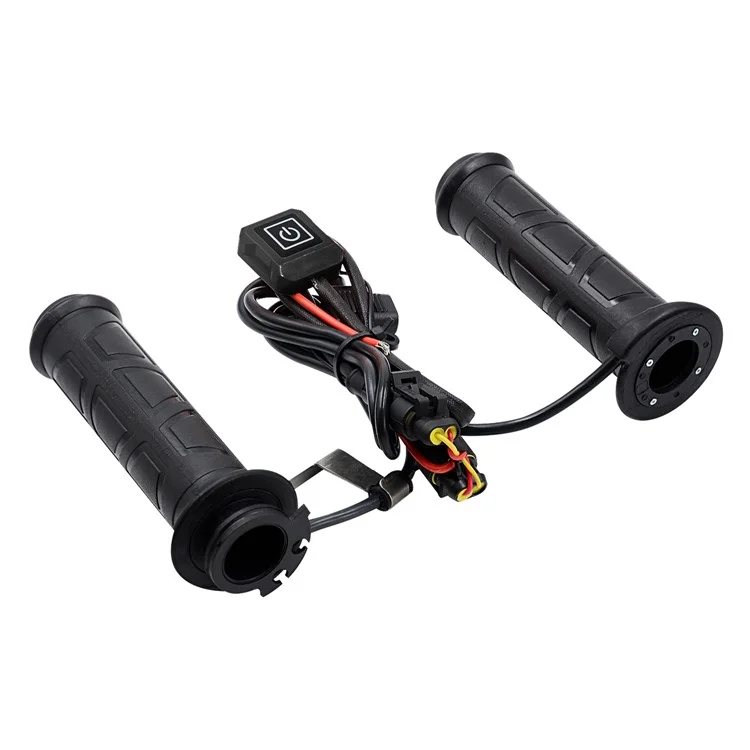
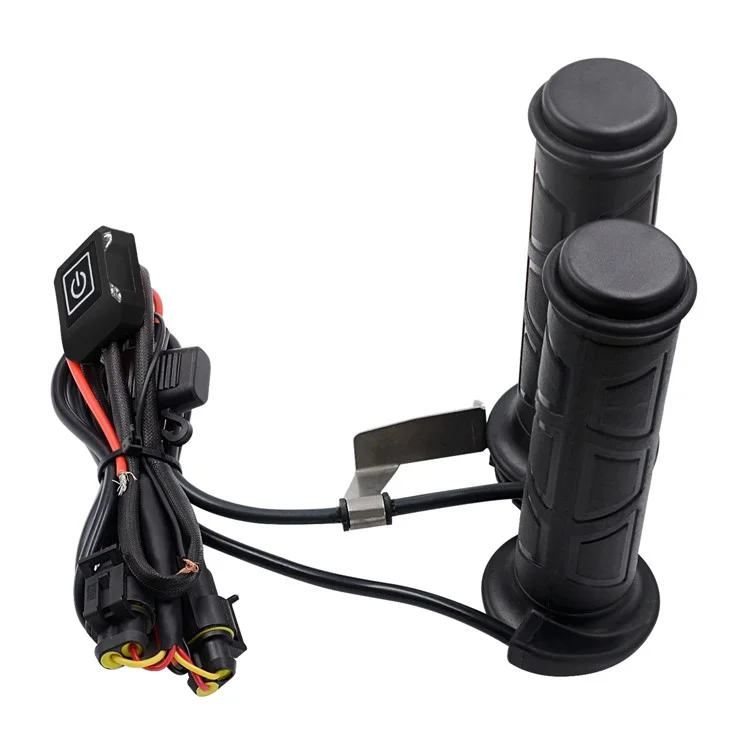
WUPP ZH-983B6 1 Pair 12V Motorcycle Winter Electric Heating Hand Grips 3 Gears Temperature Adjustable Heated Grips
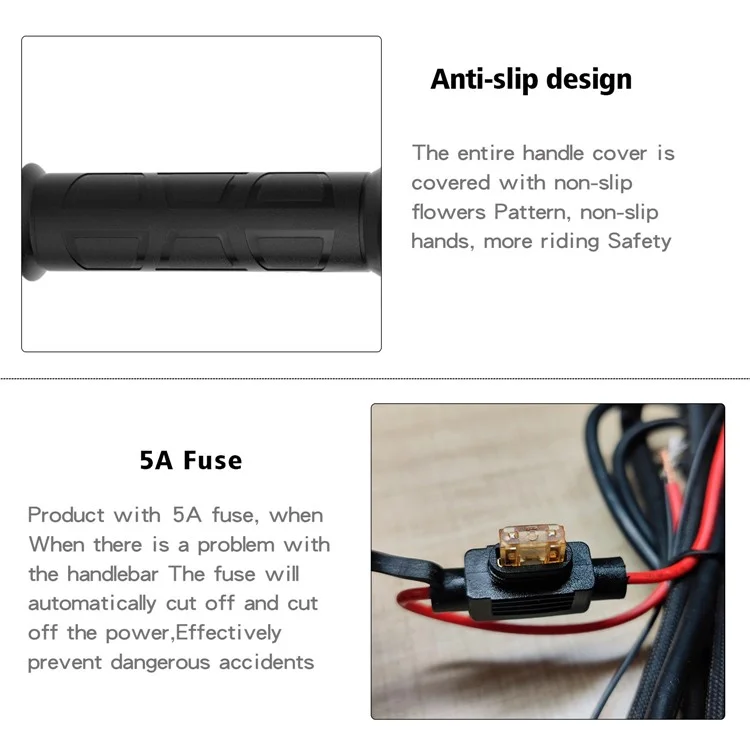
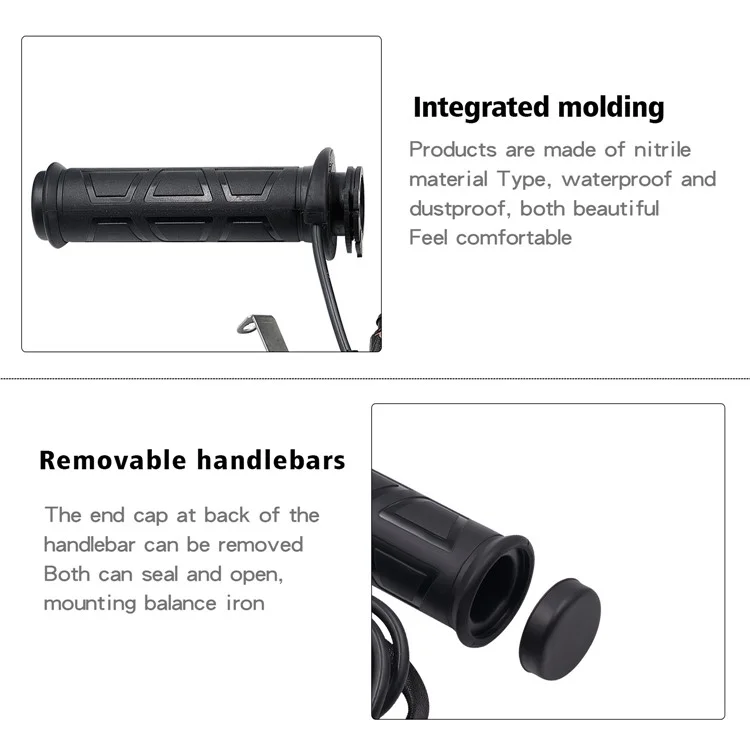
- The product adopts an integrated molding design to prevent rainwater and dust from entering the internal corrosion parts, making the service life longer and safer
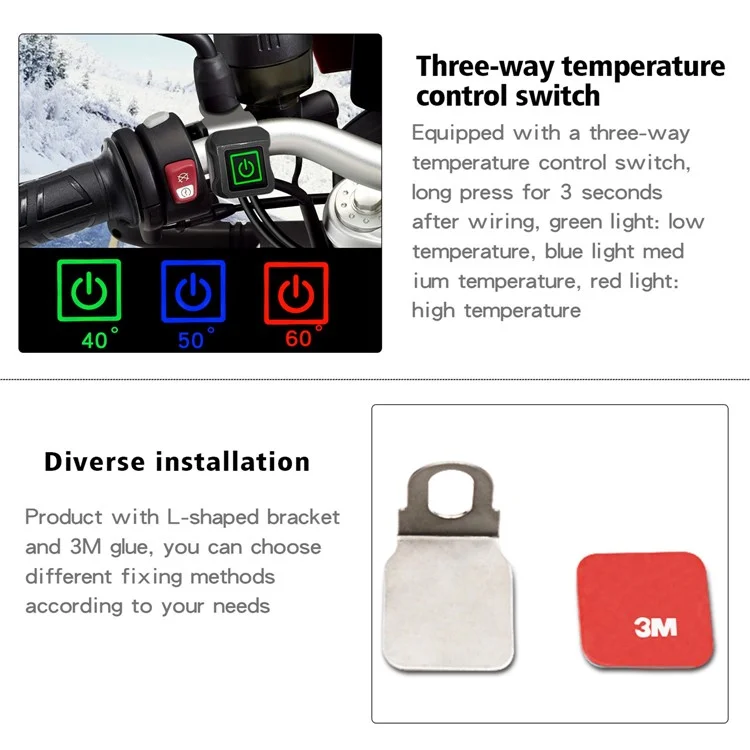
- The product switch is equipped with an intelligent temperature control chip, which can be adjusted at three levels. The temperature can be adjusted at will according to your own needs. The intelligent temperature control is safer
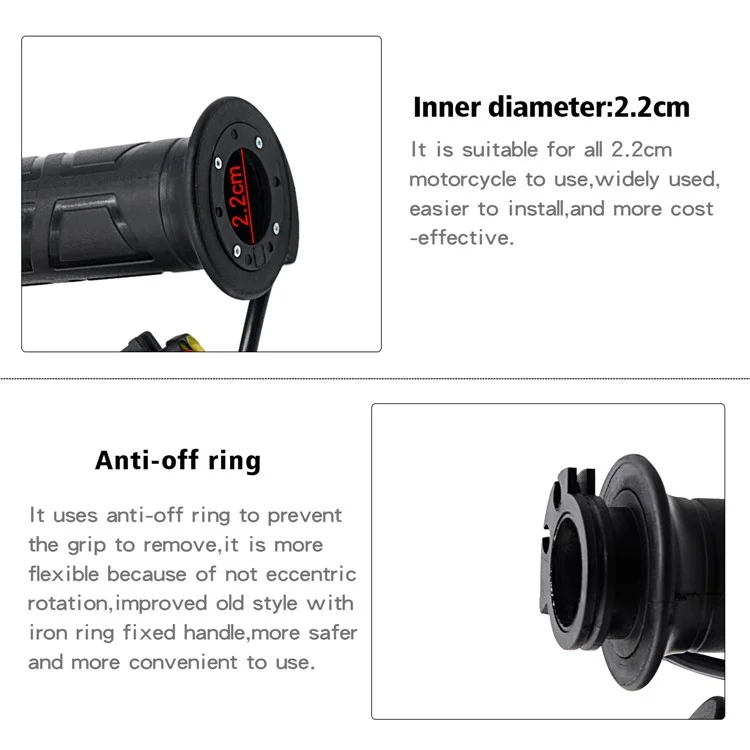
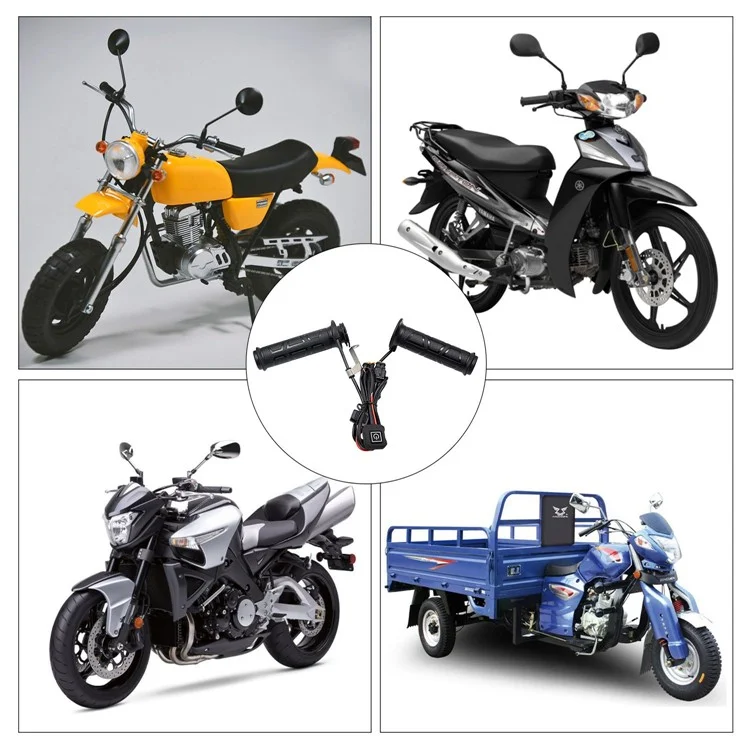
- The product is 12V input voltage, 22mm handle universal inner diameter, suitable for most motorcycles
- The product is designed with double throttle line buckle, which has a wider installation range
- The handlebar of the product is designed to be sealed and open, which does not affect the installation of decorative accessories such as handlebar plug outside the handlebar, making it more beautiful and convenient to use
- The product adds a standby mode. After switching to the standby mode, the electric heating handle will automatically keep constant temperature to about 50 ℃, which is more convenient for your use
- The product line is equipped with 5A fuse and waterproof cover, which can automatically cut off the power supply when the car has problems, effectively preventing dangerous accidents
Specifications:
- Product model: ZH-983B6
- Net weightt: 277G
- Product material: nitrile
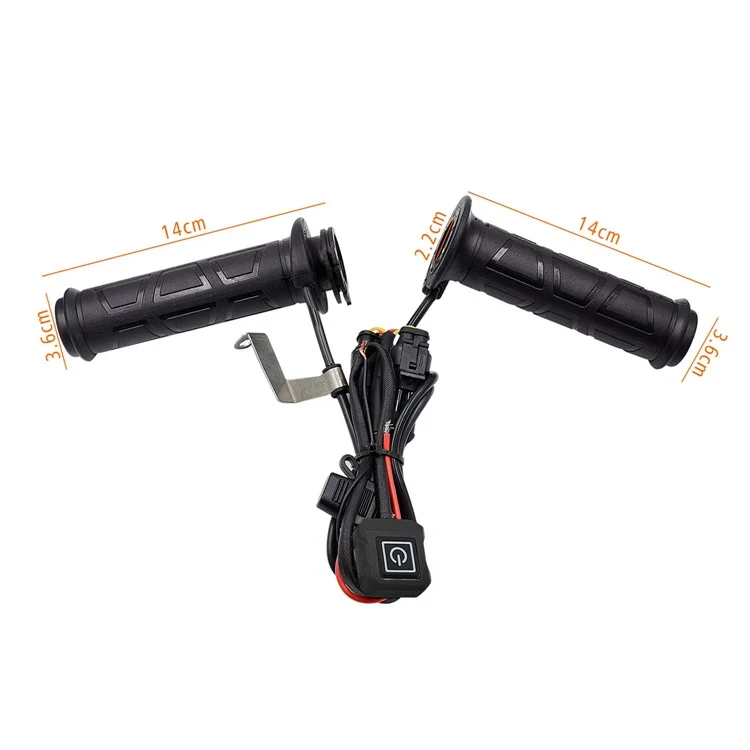
- Handle length: left handle: 143 * 36mm; Right handle: 127 * 36mm
- Suitable handle diameter: 22mm
- Input voltage: DC12V
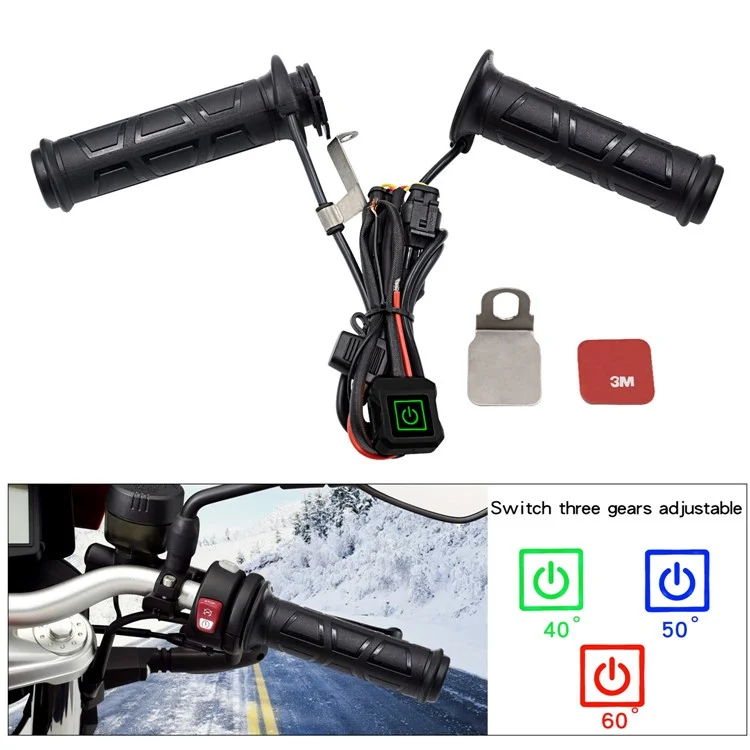
- Product power: red light 35W, blue light 25W, green light 17W
- Handle temperature: low temperature 40 ℃, medium temperature 50 ℃, high temperature 60 ℃
- Handle type: sealing and opening electric handle
- Switch type: multi gear adjustable temperature control switch
- Applicable model: 12V motorcycle with handle diameter of 22mm
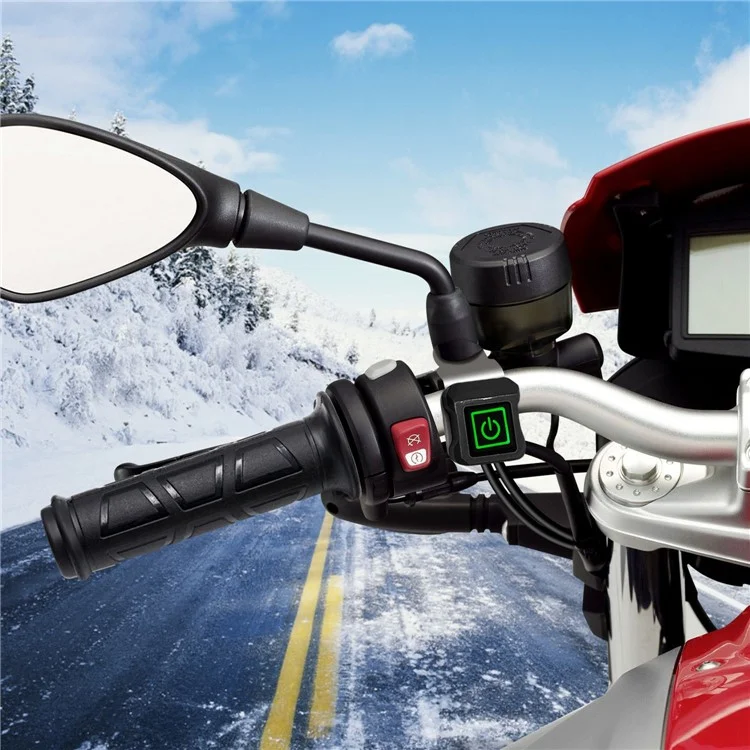
- Fixing mode of switch: rearview mirror fixing, adhesive tape fixing
Operating instructions:
- Power on: red light, blue light and green light flash once respectively and then go out
- Standby: the red light flashes, the temperature reaches the maximum, and automatically changes to the blue light middle gear to enter the standby state
- Working status: indicator light is always on (high gear: red light is always on, middle gear: blue light is always on, low gear: green light is always on)
- Long press the ON key for 3 seconds: enter the standby mode or shut down
- Click on the key: shift gears
- How to use the switch: press and hold for 3 seconds to start the machine, and the red breathing light will turn on and enter the standby state. When the temperature reaches a certain value, it will automatically turn into the blue middle gear; Press it to change to a blue light, and the temperature is medium; Press twice to turn green, and the temperature is the lowest; Press three times to turn red, which means the third gear high temperature; Press and hold for 3 seconds to shut down
Installation instructions:
- 1. First remove the tools used by the original handlebar, and then clean the handlebar.
- 2. Then wet the inner holes of the left and right handlebars of the product with soapy water, and install the left and right handlebars on the handlebars respectively. The twisting range cannot be too large during installation.
- 3. During the installation of the right handlebar, the power cord should have enough residual line for rotation to facilitate the rotation of the accelerator.
- 4. Then fix the L bracket on the handlebar of this product at the position where there are screws on the handlebar, and then fix the line on the bracket to prevent the handlebar line from shaking back and forth and reduce damage.
- 5. When connecting the power cord, the red wire of the product is connected to the positive pole of the vehicle power supply, and the black wire of the product is connected to the negative pole of the vehicle power supply. After confirming the positive and negative poles, connect them again, and do not connect them reversely.
- 6. Because the switch of this product has two fixing methods (rearview mirror fixing and adhesive tape fixing), you can fix the switch to the iron bracket with adhesive tape, and then fix the iron bracket to the rearview mirror base and tighten it; Or directly stick the adhesive tape to the back of the switch, and then stick the adhesive tape to a suitable position on the car to fix it.
- 7. When installing the balance iron on the handlebar, adjust the position of the balance iron to be slightly separated from the handlebar. When tightening the screws, do not squeeze the handlebar. If the middle handlebar slides on the steel pipe, just remove the balance iron and fix it with a few drops of 502 glue at the end of the handlebar.
Notes:
- When installing the handle, do not twist the handle too much, as excessive twisting will cause the displacement of the heating wire.
- For models with balance iron, please adjust the installation position of the balance iron. Do not squeeze the handle when tightening the screws. The balance iron is slightly separated from the handle. If the installation position of the balance iron cannot be adjusted, please add shims between the balance iron and the handle to separate them. Excessive squeezing of the handle will cause difficulty in moving the handle switch, and abnormal damage such as the surface of the handle extruded by the electric heating wire.
- The above installation steps are only applicable to general vehicle models. The specific installation steps for special vehicle models should be based on your own vehicle models.


